Finding poses that work for your body...
POSEAURA | Dress Better. Shoot Smarter. Feel Confident Every Time.
Finding poses that work for your body...
POSEAURA | Dress Better. Shoot Smarter. Feel Confident Every Time.
Finding poses that work for your body...
POSEAURA | Dress Better. Shoot Smarter. Feel Confident Every Time.
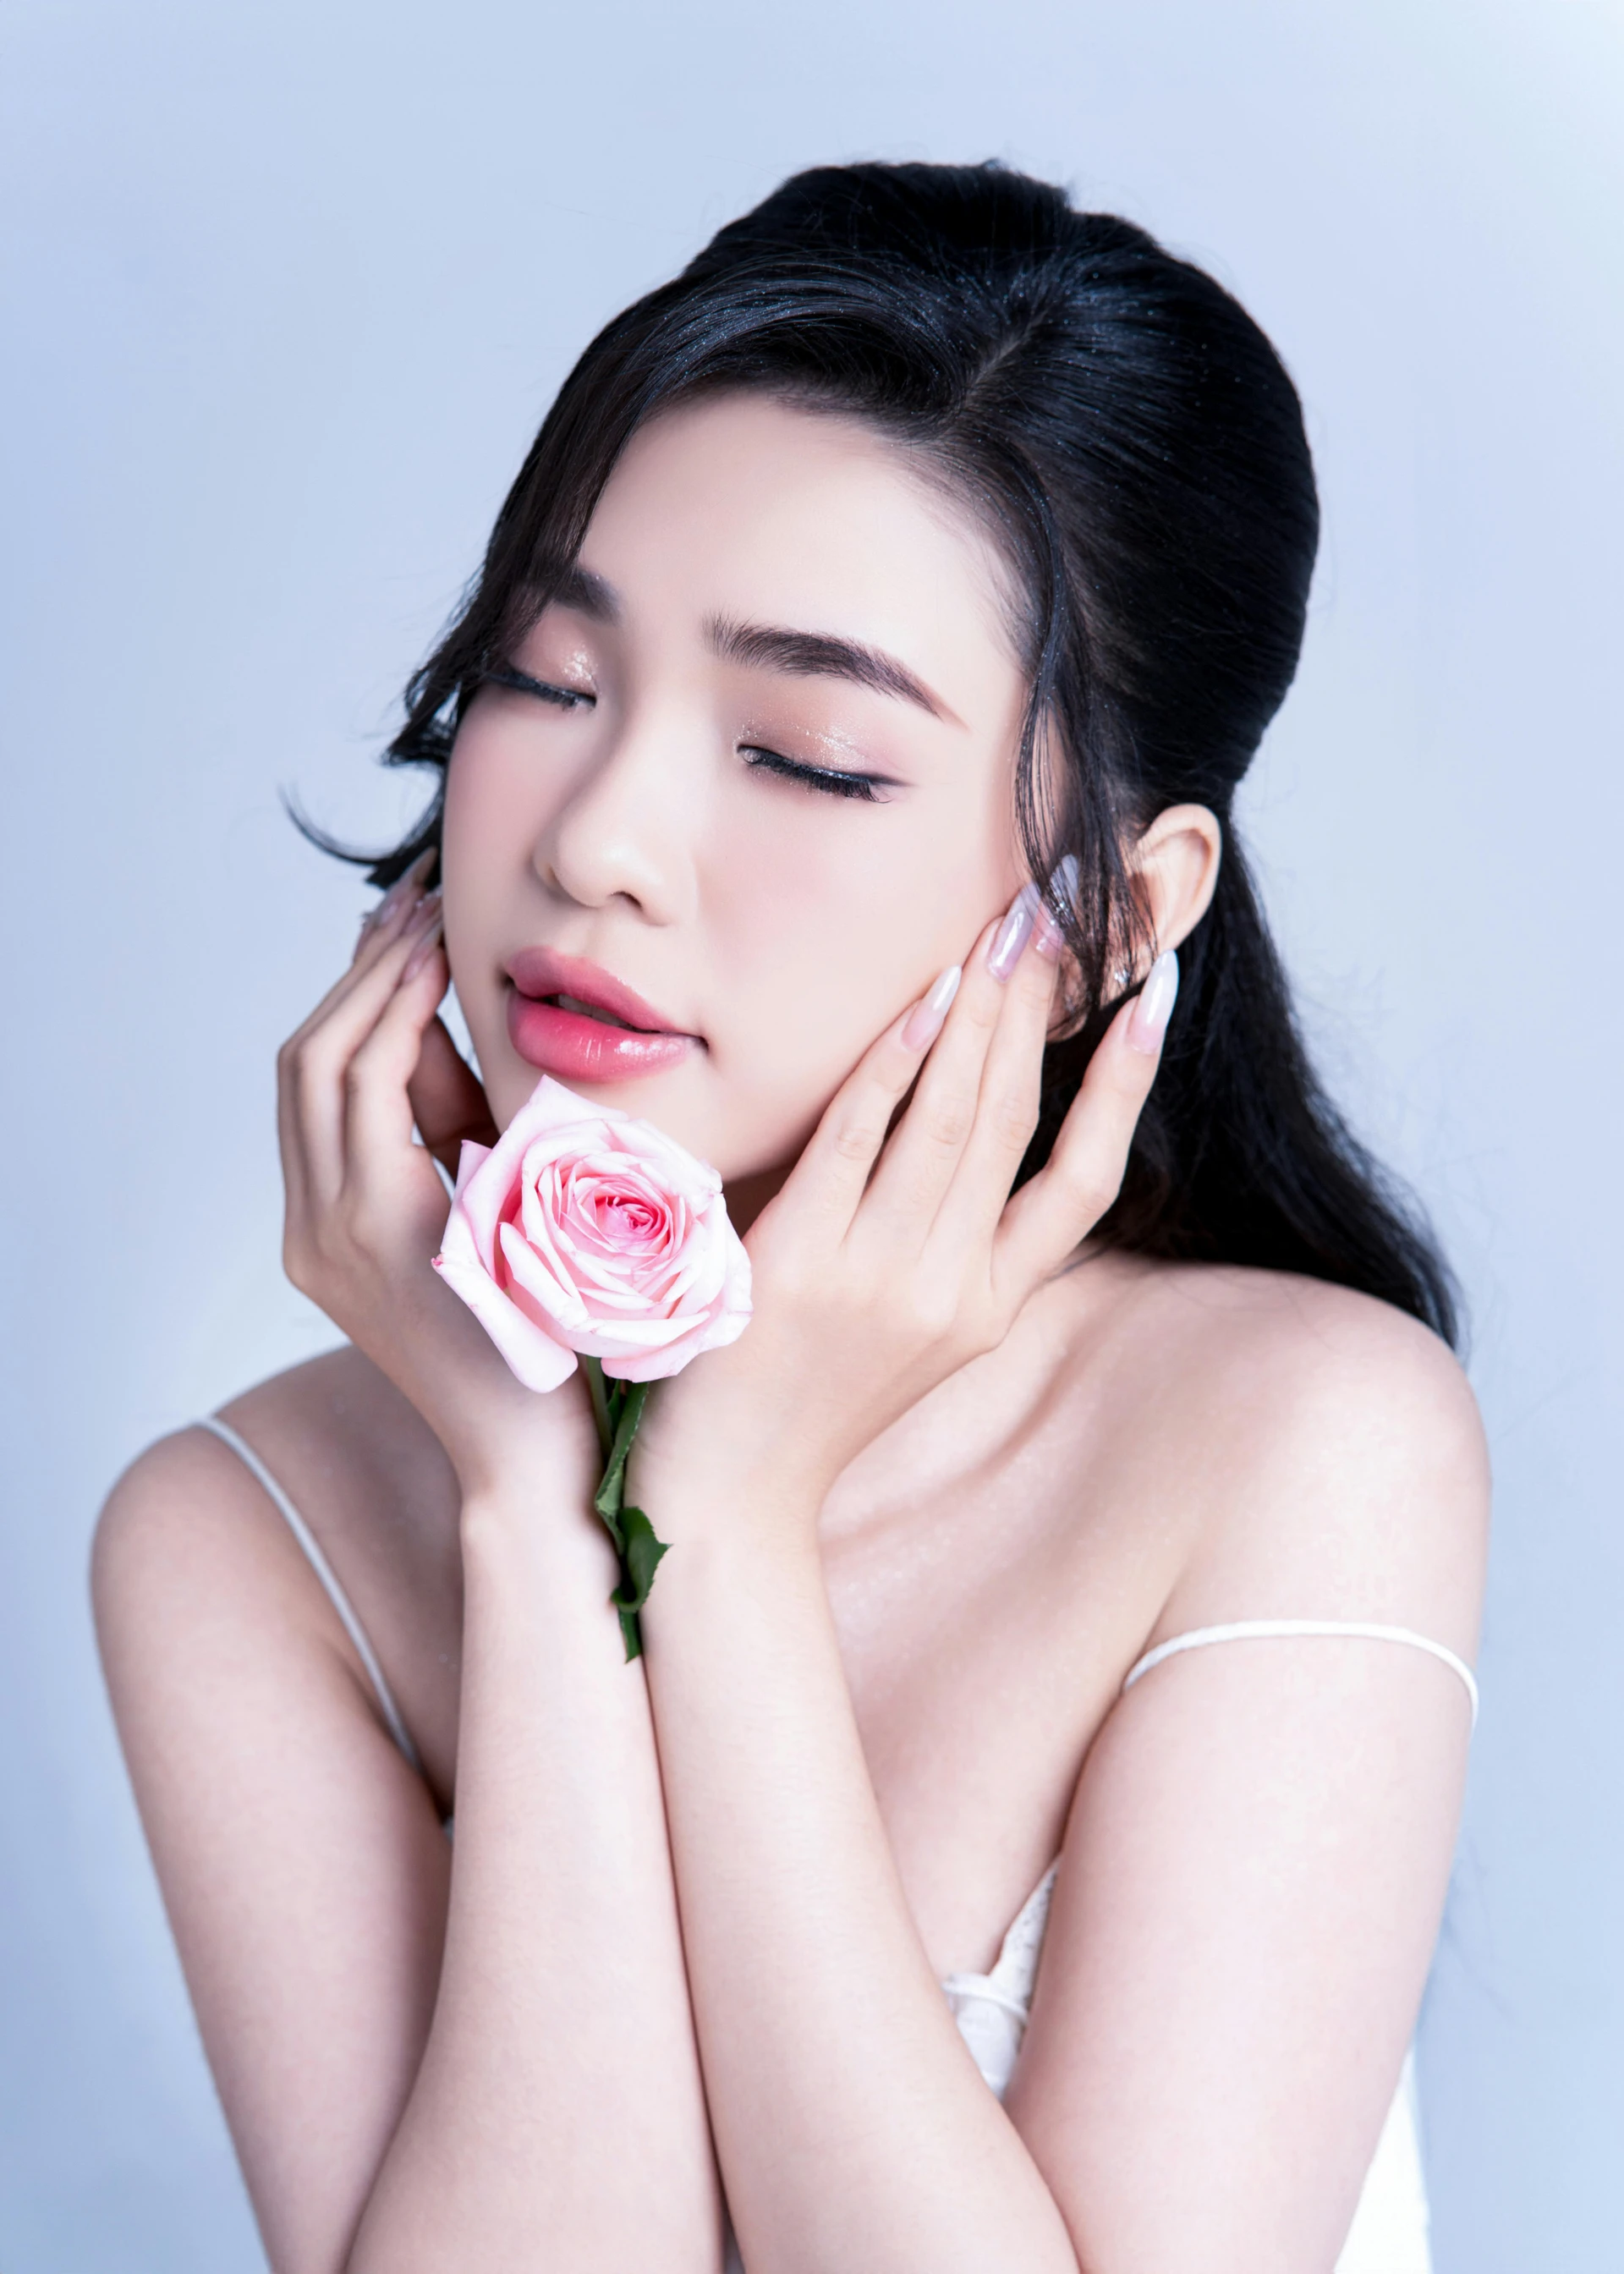
A complete step-by-step glass skin makeup tutorial based on a real editorial beauty image — covering skincare prep, product layering technique, application sequence, skin-tone adaptations, and photography notes for achieving the lit-from-within dewy finish at home or on set.
7 real questions women search before buying this look — answered directly, no fluff.
Real questions. Direct answers. No fluff.
"How do I actually get glass skin with makeup — mine always looks cakey or just flat?" :- The glass skin effect requires two things most tutorials skip: a glowy serum applied before foundation (not after), and no more than one thin layer of foundation. The glow must come from underneath the skin surface, not on top of it.
"What product actually creates that lit-from-within glow — not just a shiny forehead?" :- The difference is placement and formula. Shiny forehead = powder highlighter applied too broadly after foundation. Lit-from-within = liquid illuminator blended into foundation before application, plus a precise cream highlighter on the top third of the cheekbone and nose bridge only — nowhere else.
0"How do I get that soft pink lip without it looking washed out or bleeding everywhere?" :- The pink lip in this image works because of lip liner used as a bleed barrier, and a single-layer sheer gloss finish — not a heavily pigmented product. The formula: line with a nude-pink liner one shade deeper than the gloss, then apply a sheer pinkish gloss over the entire lip.
0👁️ "What eye makeup is she actually wearing? It looks like nothing — how do I recreate that?" :- This is the most misread element of the look. The eyes are not bare — there are three invisible layers that make the difference between a tired, red eye and this serene editorial quality: Layer 1: Nude/skin-toned eye shadow primer on the lid — neutralises redness and creates an even, matte canvas Layer 2: Translucent setting powder pressed over the primer — softens the lid further so lashes stand out without shadow Layer 3: A single coat of clear mascara or very light brown mascara (NOT black) on upper lashes only The invisible key: Nude or white kohl pencil on the lower waterline — this opens the eye and makes the glazed look work even when lashes aren't full
0🌿 "How do I get those feathered natural brows without brow lamination or spending a lot?" :- The brows in this image are fluffy and feathered — natural upward direction, no sharp arch, no filled-in block. This is achievable without lamination using one product and one technique:
🖐️ "What nail finish is that — it looks translucent and editorial. How do I get it?" :- The nails are translucent pearl — not white, not nude, not pink. It's a sheer milky-whitish tone with a high-gloss topcoat that shifts in light. This is the "glazed donut nails" or "jelly nails" technique.
0This is the most misread element of the look. The eyes are not bare — there are three invisible layers that make the difference between a tired, red eye and this serene editorial quality: Layer 1: Nude/skin-toned eye shadow primer on the lid — neutralises redness and creates an even, matte canvas Layer 2: Translucent setting powder pressed over the primer — softens the lid further so lashes stand out without shadow Layer 3: A single coat of clear mascara or very light brown mascara (NOT black) on upper lashes only The invisible key: Nude or white kohl pencil on the lower waterline — this opens the eye and makes the glazed look work even when lashes aren't full Black eyeliner on the waterline kills this aesthetic entirely — the whole look depends on a "no-edge" eye that feels clean and open.
0The exact setup to wear underneath — so nothing ruins the look.
All of these take under 2 minutes. Nothing to buy. Do it before you leave the house or before the camera turns on.
All of these take under 2 minutes. Nothing to buy. Do it before you leave the house or before the camera turns on.
Mix two drops of liquid illuminator directly into your foundation in your palm before applying — this builds the glow from inside the skin tone rather than layering it on…
Best worn for: Portrait / editorial shoot, Date night, Festive / Diwali / Eid.
| Occasion | Verdict | What to change |
|---|---|---|
| Portrait / editorial shoot | ✅ | Wear as-is — this is the look's native environment; camera reads it perfectly |
| Date night | ✅ | Reduce highlighter by half intensity; deepen lip to dusty rose if desired |
| Festive / Diwali / Eid | ✅ | Add deeper lip colour, bindi, statement earrings — the glowy base needs no other change |
| Wedding guest (evening) | ✅ | Set T-zone more firmly for longevity; intensify lashes with a single coat of brown mascara |
| Office / daily wear | ⚠️ | Replace serum foundation with tinted moisturiser, remove highlighter entirely, keep brows and petal lip only |
| Outdoor summer afternoon | ❌ | Glass skin breaks in heat and humidity within 90 min — use a matte or long-wear satin base for outdoor settings |
Dry skin actually photographs closest to true glass skin naturally — moisture is your foundation prep, not an extra product layer.
Minimalist white wardrobe — a thin-strap white camisole or top with a clean neckline that exposes the collarbone and shoulders fully.
📤 A muted cool-neutral background — lavender-grey, powder blue, or cool off-white — is the optimal setting for glass skin makeup. It creates tonal contrast with warm skin without the harshness of pure white (which over-reflects and blows out highlights) or the distraction of any colour or pattern (which competes visually with the lip and the face). Background should be smooth, matte, and placed 1–1.5 metres behind the subject to blur completely at f/2.0.
Your skin prep the night before matters far more than any product applied on shoot day. Hydration, adequate sleep, and no reactive products are the three non-negotiables. On set: do not touch your face between frames — every fingerprint interrupts the glass finish and requires MUA intervention to repair.
The garment in this look is deliberately invisible — a white thin-strap top. The makeup is the garment. Any clothing with pattern, bold colour, or heavy texture will compete visually with the glass skin effect and should be avoided entirely for this specific category. Keep the wardrobe silent.
Pre-mix illuminator into foundation before application — never on top after. Use fingertips for all cream product application; brushes create edges and texture, fingertips create skin. The brow technique is upward-only movement — no arch shaping at all. Finish with hydrating setting spray, never powder, as the final step over the cheek area.
Coordinate the prop rose to match the lip tone precisely — the pale pink in this image is the same colour family as the petal gloss, and this intentional repetition is what makes the image read as editorial rather than commercial. The cool background temperature advances the warm skin tones toward the lens — this is the compositional geometry behind the background colour choice.
Double cleanse thoroughly and apply a hyaluronic acid serum while skin is still slightly damp, then seal immediately with a rich cream moisturiser — glass skin makeup req…
Shoulders dropped and rolled slightly forward — not squared to camera.
Shoulders dropped and rolled slightly forward — not squared to camera.
Head tilted approximately 5° toward the model's left shoulder.
Eyes closed with intention — not relaxed or sleepy, but with a soft, present quality as if experiencing something.
Both hands raised to chin height: left hand cupping the jaw and cheek gently with fingertips, right hand supporting the rose stem from below.
The hands and rose are held at mid-chest to chin level, creating a framing element in the lower third of the image.
The closed-eye expression is "sensing" not "sleeping" — the model is experiencing the rose, not posing for the camera.
"Close your eyes and bring the rose toward your nose as if you're just about to smell it — hold it there, just before contact"
Team shoot brief — TEAM SHOOT BRIEF — Glass Skin Makeup Tutorial Dewy Glow · Petal Lip · Feathered Brows
Heads up: Some product links on this page are affiliate links. If you buy through them, PoseAura earns a small commission — at absolutely no extra cost to you. We only link to products we genuinely recommend for this look.
No products linked yet.
Looking for makeup products? Exact products with prices and purchase links are in the .
Glass skin makeup tutorial — dewy glow, petal lip, feathered brows.
A complete step-by-step glass skin makeup tutorial based on a real editorial beauty image — covering skincare prep, product layering technique, application sequence, skin-tone adaptations, and photography notes for achieving the lit-from-within dewy finish at home or on set. Accessible at every budget level from ₹900 to full professional kit.
Position the subject facing a large north-facing window at a 45° angle in late morning (not direct noon sun); hold a piece of white foam board on the shadow side at arm's length from the face to bounce soft fill — this eliminates harsh shadow without losing the dimensional glow
Background: A muted cool-neutral background — lavender-grey, powder blue, or cool off-white — is the optimal setting for glass skin makeup. It creates tonal contrast with warm skin without the harshness of pure white (which over-reflects and blows out highlights) or the distraction of any colour or pattern (which competes visually with the lip and the face). Background should be smooth, matte, and placed 1–1.5 metres behind the subject to blur completely at f/2.0.
Influence: Korean Glass Skin movement (K-Beauty, 2017–present) — the direct foundation of this entire aesthetic; emphasises multi-step hydration layering, skin transparency, and skin-health as the primary makeup goal over coverage